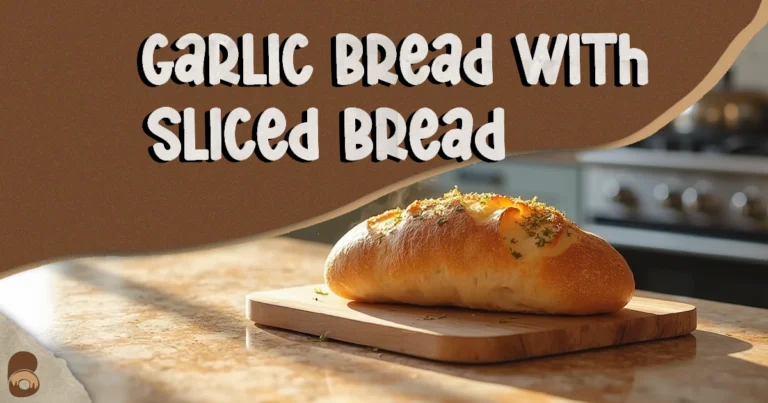
Frozen Garlic Bread: A Fail-Proof Way to Heat and Serve It Fresh in Minutes
Table of Contents
Table of Contents
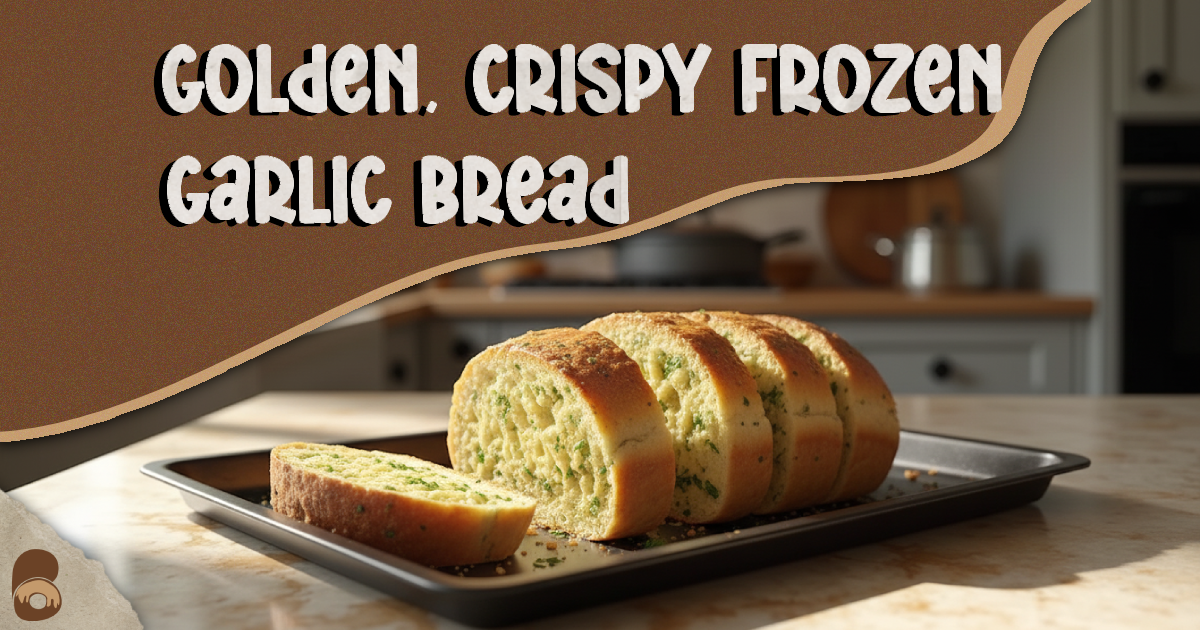
Last Friday night, you tossed a loaf of frozen garlic bread into the oven, only to pull it out with edges scorched and a middle that stayed stubbornly icy. That moment of disappointment is so common that most of us just shrug and eat the crunchy edges. But here’s the relief: with the right approach, frozen garlic bread always comes out golden, buttery, and evenly warmed—crispy on the outside and soft in the center.
Below, you’ll find a complete guide that covers prep, equipment, method, fixes when things go wrong, and even a little food science to explain why certain techniques work.
Recipe Snapshot
- Prep time: 5 minutes
- Cook time: 10–15 minutes (depending on method)
- Total time: 15–20 minutes
- Yield: about 8–12 slices, depending on loaf size
- Difficulty: Easy
- Best for: Weeknight dinners, side dish to pasta, soups, and salads
Prep & Equipment Essentials
Before heating frozen garlic bread, having the right tools on hand helps you avoid uneven baking or sogginess.
What you’ll need:
- Baking sheet (ensures even heat circulation)
- Aluminum foil or parchment (prevents sticking, controls softness)
- Sharp knife (for slicing cheesy bread cleanly after baking)
- Silicone brush (helpful if brushing extra butter/oil)
- Oven mitts (safety first!)
Quick Ingredient Reference for Homemade Garlic Bread
If you’re making garlic bread from scratch (with sliced bread or a baguette) to freeze later, here’s a simple ratio to follow:
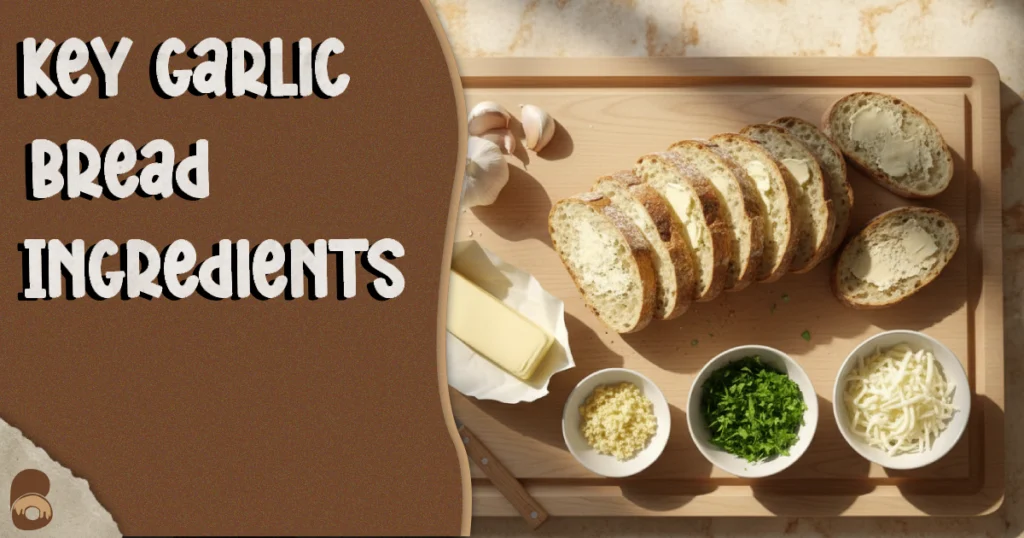
| Ingredient | US Measure | Metric Approx. |
|---|---|---|
| Sliced bread | 8 slices | 280 g |
| Unsalted butter | 6 tbsp (3 oz) | 85 g |
| Garlic (minced) | 4 cloves | 12 g |
| Fresh parsley (chopped) | 2 tbsp | 6 g |
| Mozzarella/cheese (opt) | 1 cup (4 oz) | 113 g |
Tip: If you enjoy experimenting with flours for the base bread (such as almond or chickpea), check out The Ultimate Guide to Unique Types of Flour for Creative Baking for inspiration.
How to Heat Frozen Garlic Bread
The oven gives the most reliable, evenly golden results, but you have options.
| Method | Temp (°F/°C) | Time Range | Notes |
|---|---|---|---|
| Oven (whole loaf) | 375°F / 190°C | 12–15 min | Wrap in foil for soft bread, unwrap last 3 min for crunch |
| Oven (sliced) | 400°F / 200°C | 10–12 min | For extra-crisp edges |
| Toaster oven | 375°F / 190°C | 8–10 min | Perfect small batches; watch closely |
| Air fryer (slices) | 360°F / 182°C | 5–6 min | Super crisp, restaurant-style finish |
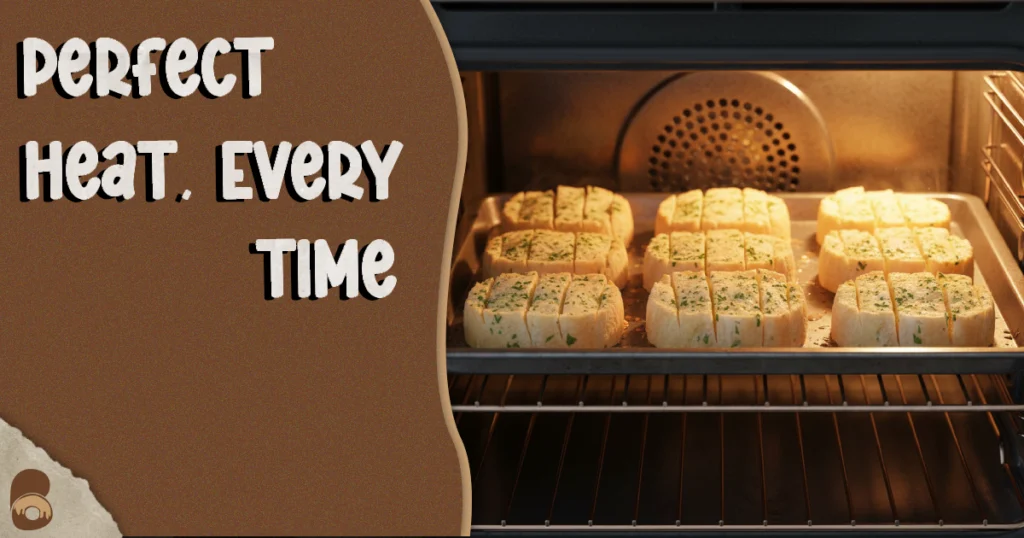
Step-by-Step Checklist
- Preheat your oven, toaster, or air fryer. (Visual cue: oven thermometer showing steady heat)
- Line a baking sheet with parchment or foil. (Visual cue: smooth surface, no wrinkles for even heating)
- Place frozen garlic bread flat, slices not overlapping. (Visual cue: even spacing, air gaps)
- Cover the loaf/slices with foil if you prefer a softer texture. (Foil should be lightly crimped, not airtight)
- Bake according to the method above until golden at the edges. (Visual cue: cheese bubbling, edges golden-brown)
- Serve immediately while warm and fragrant.
Troubleshooting & Fixes with Frozen Garlic Bread
- Middle cold, edges burnt → Lower oven temp by 25°F/10°C and extend bake by 3–4 minutes.
- Too dry → Brush with a thin coat of melted butter or olive oil before reheating.
- Cheese leaks onto tray → Bake on parchment for easy cleanup, and slice after baking.
- Soggy bottom → Use a preheated baking sheet or flip halfway through baking.
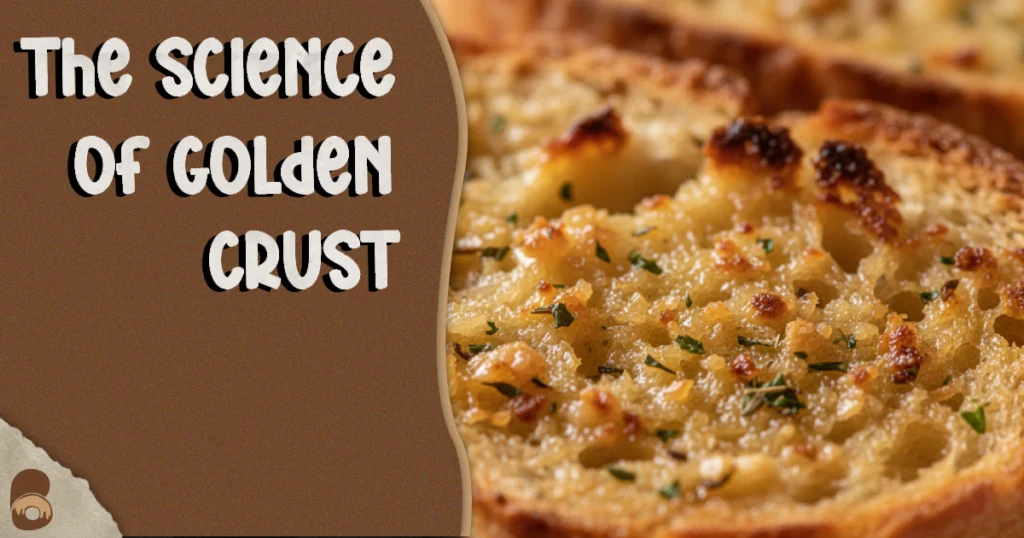
Science Bite: Why Garlic Bread Behaves This Way
- Conduction: Heat moves directly from your baking sheet into the bottom crust, giving it a crisp base.
- Steam effect: Leaving bread wrapped in foil traps steam, creating a softer bite. Removing the foil allows moisture to escape, resulting in a crunch.
- Maillard reaction: The Maillard reaction begins around 285°F/140°C and intensifies above 310°F/154°C, creating that golden-brown crust and toasty flavor.
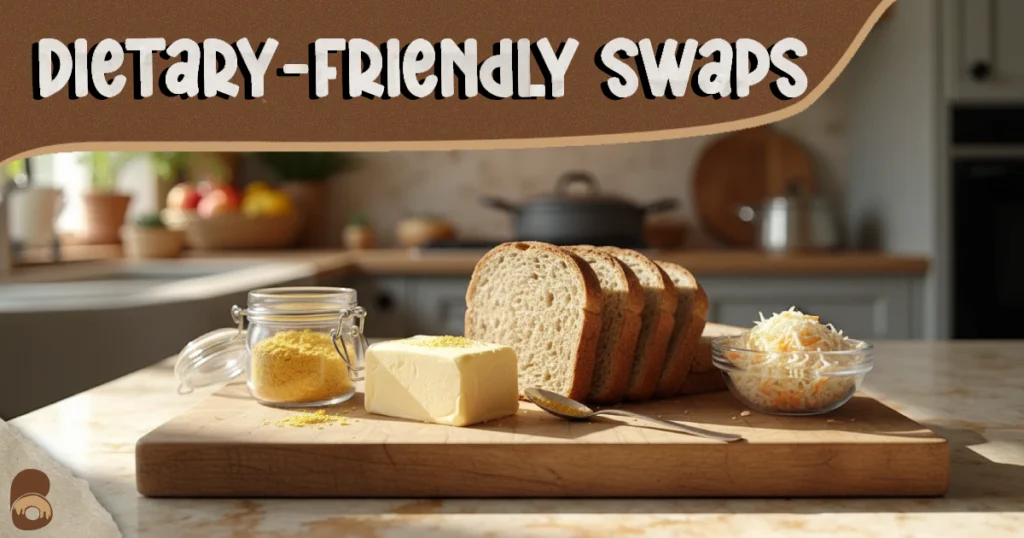
Ingredient Swaps & Dietary Notes
- Dairy-free → Swap butter with olive oil or vegan margarine.
- Gluten-free → Use gluten-free sliced bread or baguettes made with almond, chickpea, or cassava flour.
- Egg-free → Most garlic bread recipes are naturally egg-free.
- Cheese swap → Nutritional yeast adds a cheesy, savory flavor, though it won’t melt like cheese. For a melty topping, use shredded plant-based cheese.
Visual Cues for Doneness
- See: Golden edges, bubbling cheese if added
- Smell: Rich garlic aroma with a nutty toasted note
- Feel: Crust crisp, but center still fluffy
Storage & Make-Ahead Tips
- Freezer storage: Best frozen up to 2–3 months for quality; keep tightly wrapped to avoid freezer burn.
- Fridge storage: Avoid refrigerating baked bread—it dries out quickly.
- Best reheating method: Always bake from frozen, not thawed, for a crisp finish.
- Food safety note: Do not re-freeze garlic bread once it has been baked and cooled.
FAQs About Frozen Garlic Bread
1. Can I re-freeze frozen garlic bread after baking?
No. Once baked, garlic bread loses moisture and quality if refrozen. Only reheat what you’ll eat.
2. Can I cook frozen garlic bread in the microwave?
Yes, but it will be chewy and rubbery. Ovens and air fryers maintain crispiness.
3. Do I need to thaw frozen garlic bread before baking?
Not at all. Baking straight from frozen yields a crisp crust without sogginess inside.
4. How long does frozen garlic bread last in the freezer?
Stored tightly wrapped, it keeps best for up to 2–3 months with good flavor. Beyond that, freezer burn or drying may set in.
5. Can I make garlic bread at home and freeze it?
Yes. Assemble bread with garlic-butter, freeze flat and tightly wrapped, then bake directly when needed.
Final Bite
Frozen garlic bread doesn’t have to be a gamble. With even heat, the right foil tricks, and a few smart swaps, you can bring it to the table buttery, warm, and consistently delicious every time.
Follow me on Pinterest for more reliable bakes.
Simple, honest recipes — perfect results every time.
Share your experience and help others!
Tried this recipe? Leave a rating and make someone’s day tastier
Be the first to rate this recipe and help others discover it!