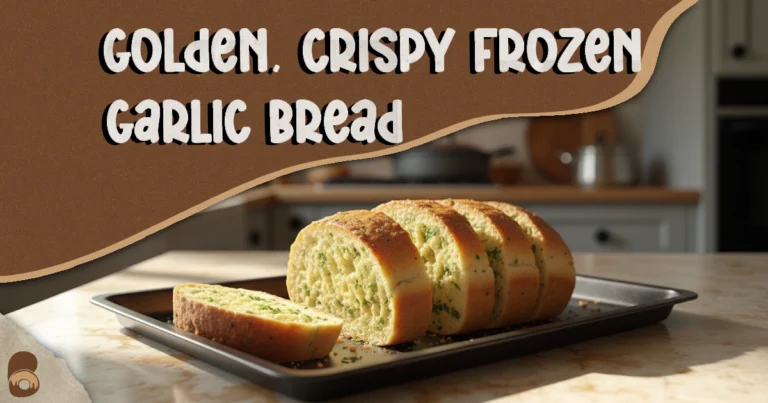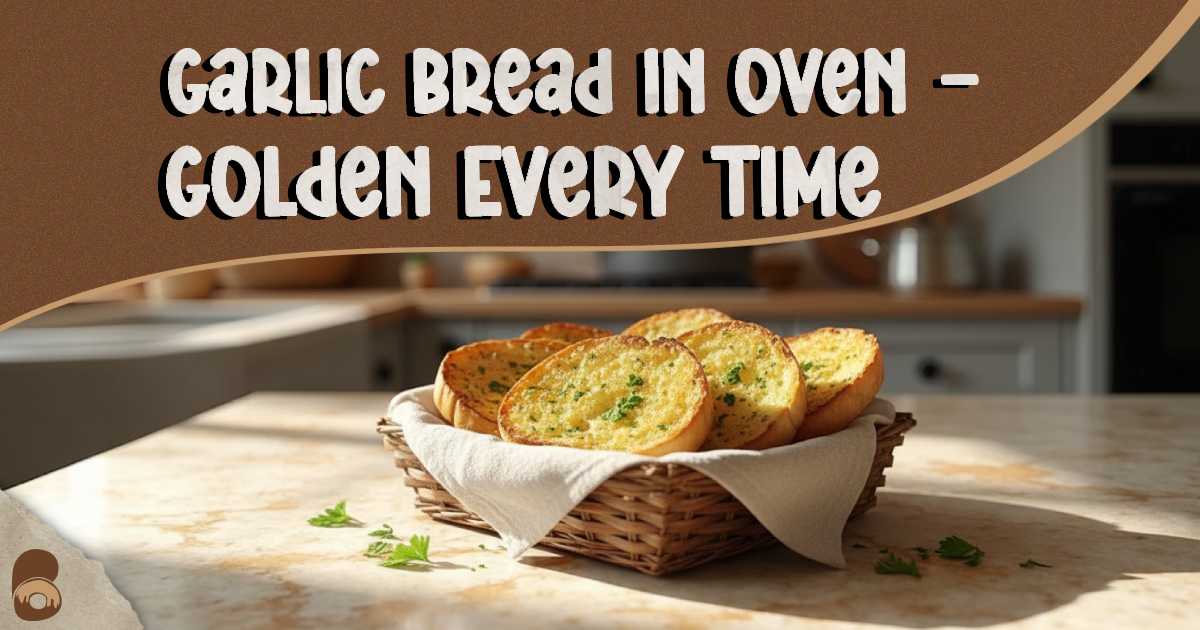
Perfect Garlic Bread in Oven: Golden, Crispy & Crowd-Pleasing
Table of Contents
Table of Contents
You place your garlic bread in the oven with excitement, only to pull it out and find the edges charred while the middle is still pale and soft. It’s frustrating and feels like such a letdown for something so simple. The truth is, garlic bread can be a little tricky, but once you understand the right balance of oven temperature, butter spread, and timing, the process becomes foolproof. With this method, you’ll get buttery soft interiors, golden crisp edges, and an aroma that fills the kitchen with comfort every single time.
Recipe Overview
- Prep time: 10 minutes
- Cook time: 10–12 minutes (plus 1–2 min broil, optional)
- Total time: 20–25 minutes
- Yield: 8 servings (about 16 slices if using a baguette)
- Difficulty: Easy
Equipment You’ll Need
- Sharp bread knife
- Small mixing bowl
- Rubber spatula or butter knife
- Baking sheet
- Parchment paper (optional for easy clean-up)
- Foil for covering (if using cheese or frozen bread)
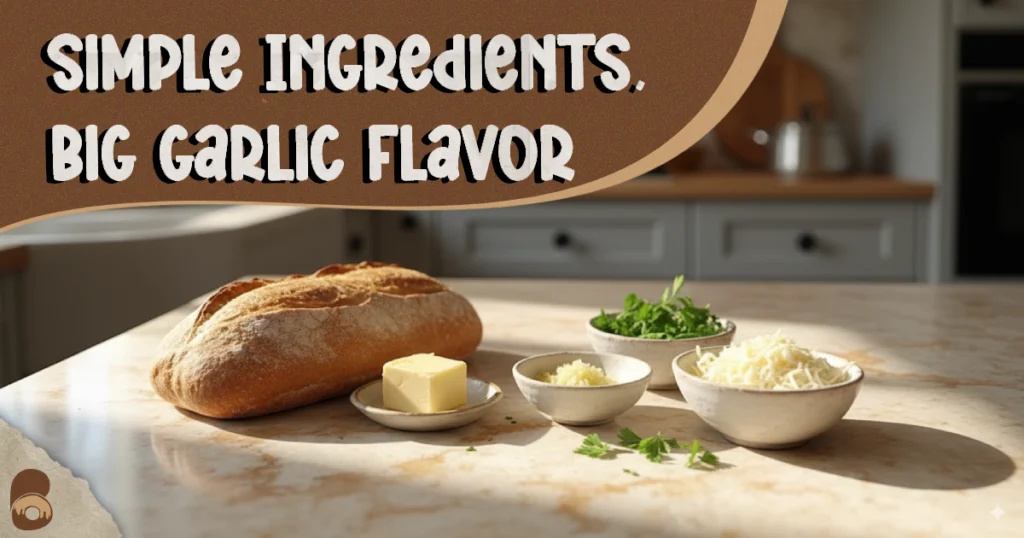
Ingredients You’ll Need
Here’s a well-balanced base recipe, with both US and metric measures:
| Ingredient | Amount (US) | Amount (Metric) |
|---|---|---|
| Baguette or sliced bread | 1 loaf | ~400 g |
| Unsalted butter, softened | ½ cup (1 stick) | 115 g |
| Garlic, finely minced | 4 cloves | ~15 g |
| Fresh parsley, chopped | 2 tbsp | 8 g |
| Fine salt | ½ tsp | 3 g |
| Mozzarella or Parmesan, shredded (optional) | 1 cup | 100 g |
Shortcut option: Use sliced sandwich bread if you don’t have a baguette. It bakes faster and is more kid-friendly.
Step-by-Step Method
Garlic Bread in Oven Checklist
- Preheat oven to 375°F (190°C).
Visual cue: Oven preheated, rack in the middle for even heat flow. - Slice bread lengthwise if using a baguette, or line sandwich bread slices on a tray.
Visual cue: Flat, even surface for spreading. - Mix butter spread: Combine softened butter, garlic, parsley, and salt in a bowl.
Visual cue: Smooth, spreadable paste with parsley evenly speckled.
- Spread mixture thinly and evenly on bread.
Visual cue: Thin coat that covers fully but doesn’t pool. - Optional cheesy version: Sprinkle mozzarella or Parmesan lightly.
Visual cue: Thin layer that will melt evenly rather than clump. - Bake uncovered for 10–12 minutes until edges begin to crisp.
Visual cue: Butter melted, bread edges starting to turn golden. - Optional broiling finish: Broil 1–2 minutes for deeper color.
Safety note: Stay near the oven; garlic and cheese can burn in under a minute. - Rest for 2 minutes before cutting.
Visual cue: Butter has absorbed back into bread; slices hold shape.
Troubleshooting & Fixes (Garlic Bread in Oven)
- Edges burnt while inside is soft → Lower temp to 350°F (175°C) and bake 2–3 min longer.
- Cheese browning too fast → Tent with foil halfway.
- Bread feels chewy → Pre-toast plain bread 2–3 minutes before spreading butter.
- Frozen loaf heats unevenly → Bake covered for 12 min, then uncover last 5 min.
- Garlic tastes too strong → Roast garlic before mixing for a milder flavor.
Science Bite: Why This Method Works
- Fat flavor delivery: Butter melts quickly, carrying garlic oil into the open pores of the bread crumb.
- Moisture evaporation: Moderate oven heat (375°F / 190°C) allows steam to escape, crisping the surface without burning.
- Caramelization and Maillard reaction: Brief broiling browns milk solids in butter and sugars in bread, creating nutty, golden notes.
- Cheese transformation: Most cheeses soften and melt between 90–150°F (32–65°C), depending on type and moisture. Browning generally develops once surface temperatures reach 330–360°F (165–185°C).
(If you’re curious about how ingredients behave differently during baking, see Flour Fundamentals in our flour guide for more science-backed detail.)
Ingredient Swaps & Dietary Notes
- Vegan garlic bread: Use dairy-free butter and cheese alternatives. Nutritional yeast adds a savory, cheesy note.
- Dairy-free option: Olive oil adds a lighter flavor, though it browns differently than butter. Bread may bake firmer, so brush oil generously to keep it tender.
- Gluten-free: Choose a sturdy GF loaf or baguette—avoid soft sandwich-style breads that may turn gummy.
- Low-sodium option: Skip the added salt if using Parmesan. A 1-ounce (28 g) serving of Parmesan contains about 450 mg of sodium, so it already provides a salty flavor.
Storage & Make-Ahead Tips
- Leftovers: Wrap in foil and refrigerate up to 2 days. Do not leave out at room temperature for longer than 2 hours (per USDA guidelines) as garlic-butter toppings are perishable.
- Reheating: Warm in oven at 350°F (175°C) for 6–8 minutes. Avoid microwaving—it makes the bread rubbery.
- Freezer make-ahead: Assemble but don’t bake. Wrap tightly in foil and freeze for up to 2 months. Bake directly from frozen at 375°F (190°C) for 15–18 minutes.
Visual Cues for Doneness
- See: Golden-brown edges, cheese melted smooth, and a glistening surface that isn’t greasy.
- Smell: Balanced butter-garlic aroma, with light toasted notes.
- Feel: Exterior is crisp while interior stays soft but not soggy.
FAQs
1. How do I make garlic bread in the oven with sliced bread?
Lay slices flat on a baking tray, spread butter mixture thinly, and bake 8–10 minutes at 375°F (190°C).
2. Can I turn this into a cheesy garlic bread recipe?
Yes—sprinkle mozzarella or Parmesan before baking, then broil 1–2 minutes for gooey, golden cheese.
3. What’s the best way to cook frozen garlic bread in oven?
Bake frozen at 375°F (190°C) for 15–18 minutes. Keep covered in foil for the first half to prevent drying, then uncover for crisping.
4. Why does garlic bread sometimes taste bitter?
Burnt garlic causes bitterness. Spread thinly, avoid raw chunks, and keep a close eye under the broiler.
5. How do I prevent soggy garlic bread?
Spread butter thinly, bake uncovered, and let bread rest 2 minutes before slicing so the butter absorbs properly.
Follow me on Pinterest for more reliable bakes.
Simple, honest recipes — perfect results every time.
Share your experience and help others!
Tried this recipe? Leave a rating and make someone’s day tastier
Be the first to rate this recipe and help others discover it!