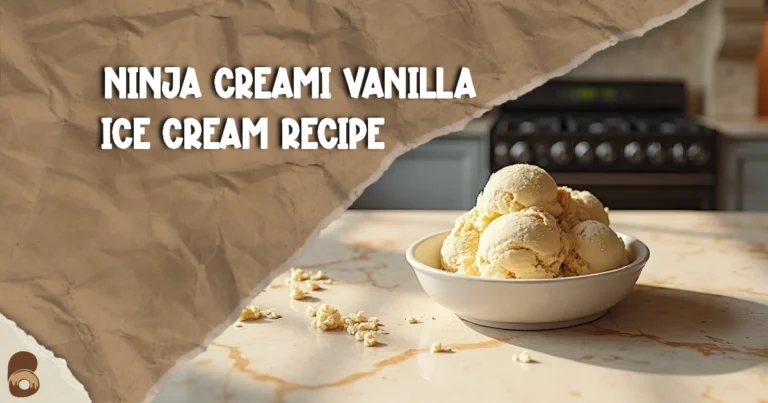
The Essential Healthy Ice Cream Recipe That Stays Creamy Without Extra Sugar
Table of Contents
Table of Contents
You’ve probably been here before: it’s a hot day, and you’re excited to scoop into your homemade ice cream — only to find a rock-hard, icy block that tastes nothing like the creamy dessert you imagined. It’s frustrating, especially when you’ve chosen a recipe that promises to be healthy but ends up compromising on texture.
The truth is, many healthy ice cream recipes fail because they miss the right balance of natural sweetness, fat, and freezing technique. But you don’t need to give up creamy texture for the sake of healthier ingredients. With just a few simple tricks and a touch of science, you can enjoy a healthy ice cream recipe that’s naturally sweet, creamy, and scoopable — without adding extra sugar.
This guide will walk you step by step through ingredients, equipment, troubleshooting, science-backed tips, and even dietary swaps so you can master homemade ice cream that feels indulgent but fits your health goals.
🥣 Ingredients & Measurements
This recipe yields about 1 quart (4 cups), perfect for 6–8 servings.
| Ingredient | US Cups / Ounces | Grams |
|---|---|---|
| Ripe bananas (frozen) | 3 medium (about 12 oz) | 340 g |
| Greek yogurt (unsweetened, full-fat) | 1 cup / 8 oz | 240 g |
| Unsweetened almond milk (or dairy milk) | ½ cup / 4 oz | 120 ml |
| Pure vanilla extract | 1 tsp | 5 ml |
| Pinch of sea salt | – | 1 g |
| Optional mix-ins: cacao powder, nut butter, or berries | – | – |
👉 Tip: Choose fully ripe bananas with brown spots. Their natural sugars add sweetness and help your healthy ice cream recipe stay creamy instead of icy.
🧰 Prep, Equipment & Time
Making homemade ice cream doesn’t require fancy tools, but the right equipment helps you nail the texture.
Equipment List
- Blender or food processor → to create a smooth base
- Ice cream maker → ensures creamy texture (but see no-churn option below)
- Airtight container → for freezing and storage
- Spatula → for scraping mixture into your machine/container
Time & Yield
- Prep time: 10 minutes
- Chilling time: 30 minutes (optional but improves results)
- Churning time: 20–25 minutes
- Freezing time: 2–3 hours (soft-serve consistency right after churning, firmer after freezing)
- Total time: About 3.5–4 hours
- Yield: 1 quart (4 cups), about 6–8 servings
- Difficulty level: Easy
🍨 Step-by-Step Method
Use this step-by-step guide to make a smooth, creamy, healthy ice cream recipe without adding extra sugar.
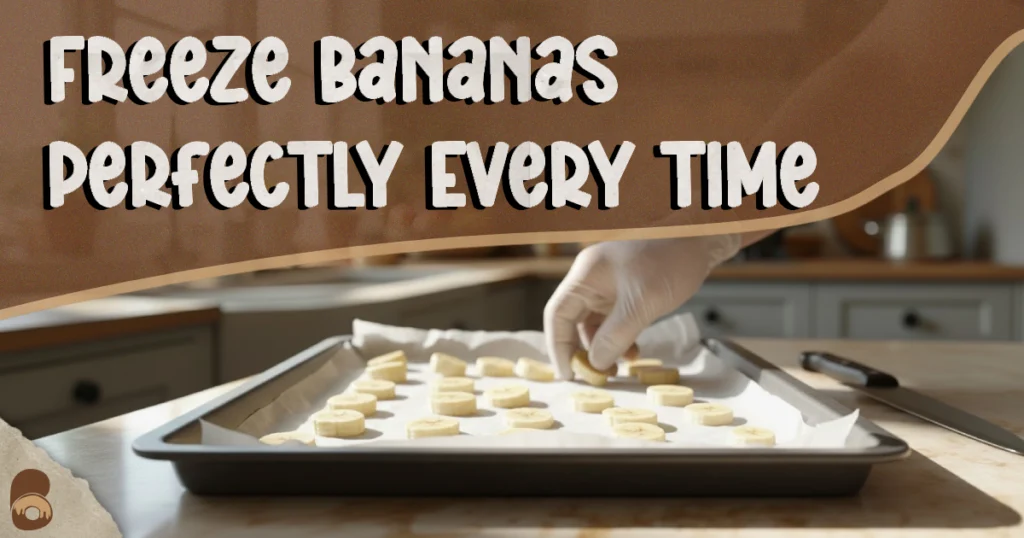
Step 1: Prepare Bananas
- Slice bananas into coins and freeze them on a lined tray overnight.
- Visual cue: Your frozen banana slices should appear frosty and break cleanly when bent.
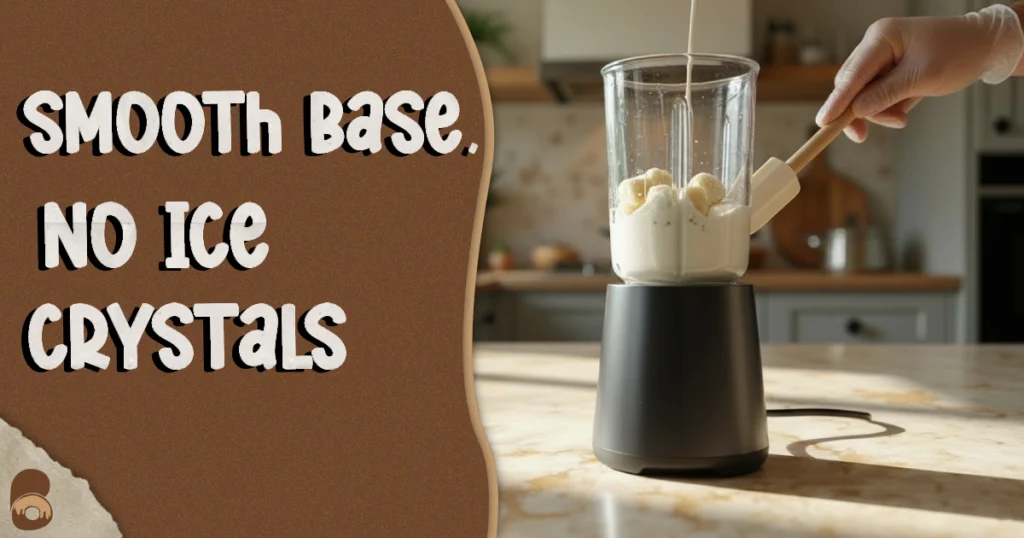
Step 2: Blend Base
- Add frozen bananas, Greek yogurt, almond milk, vanilla, and salt into a blender or food processor.
- Blend until smooth and thick, scraping sides as needed.
- Visual cue: The base should resemble soft-serve ice cream in texture before freezing.
Step 3: Chill Mixture
- Transfer the mixture to a bowl, cover, and refrigerate for 30 minutes.
- This step allows fat to solidify slightly and improves the final texture.
- Visual cue: Base should feel cold to the touch but remain pourable.
Step 4: Churn
- Pour chilled base into your ice cream maker.
- Churn for 20–25 minutes until it thickens.
- Visual cue: Mixture should look like soft-serve ice cream in texture before freezing.
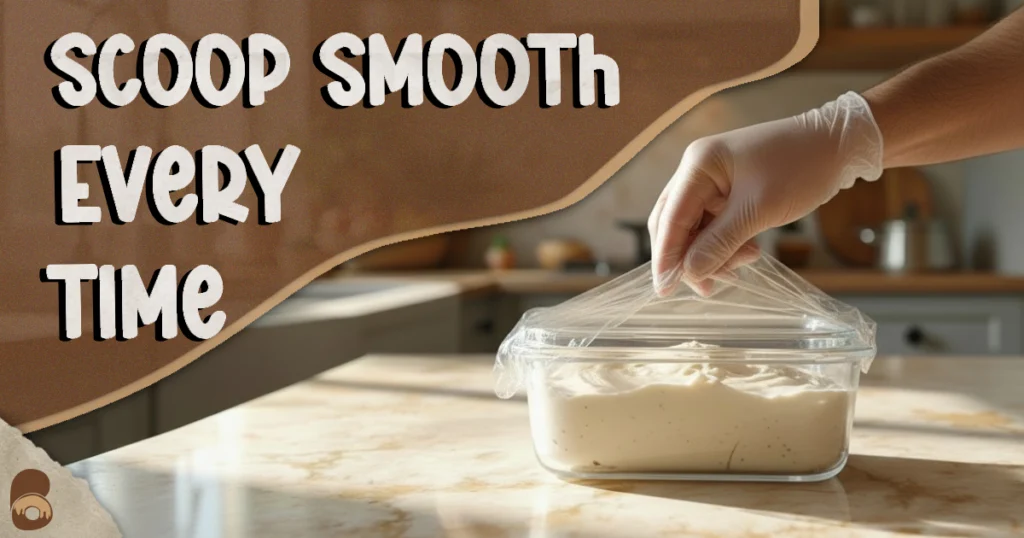
Step 5: Freeze
- Transfer to an airtight container.
- To protect the surface, press plastic wrap directly onto the ice cream before sealing the container — this helps maintain texture and prevents freezer burn.
- Freeze for 2–3 hours.
- Visual cue: When ready to serve, your healthy ice cream should scoop smoothly, offering gentle resistance.
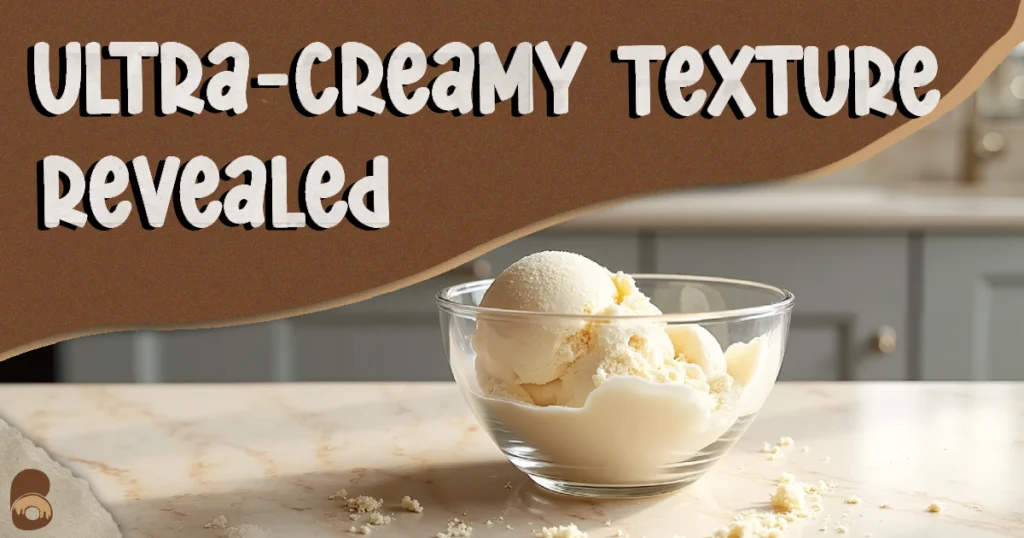
🔎 Visual Cues for Doneness
Knowing when your ice cream is “done” is just as important as following times. Here’s what to look for:
- During churning, Base turns from liquid to soft-serve thickness.
- After freezing: Firm enough to hold a scoop shape but not rock-hard.
- Texture on the tongue: Creamy, no ice shards.
- Aroma: Banana-vanilla fragrance without sourness.
⚠️ Troubleshooting & Fixes: Healthy Ice Cream Recipe Problems
Even with the right method, small issues can pop up. Here’s how to fix them quickly:
- Too icy? Add 1–2 tbsp nut butter, extra yogurt, or a small splash of cream. These add fat and solids, which interfere with ice crystal growth and improve creaminess.
- If the ice cream feels too firm, let it sit at room temperature for a few minutes to soften slightly before scooping.
- Not sweet enough? Blend in 1–2 Medjool dates or a drizzle of honey/maple syrup.
- No ice cream maker? Spread the base into a shallow dish, freeze, and stir vigorously every 30 minutes until creamy.
- Mixture separates? Blend again for 10–15 seconds before churning.
🔬 Science Bite: Why This Works
Ever wondered why some homemade ice creams taste creamy while others freeze into an icy brick? Here’s the simple science:
- Bananas: Rich in natural sugars and soluble fiber (including pectin), bananas lower the mix’s water content and help limit large ice crystal formation, leading to a smoother texture.
- Greek yogurt: Provides protein and fat that reduce water activity, which improves creaminess.
- Chilling the base: Starting cold helps form smaller ice crystals during churning, resulting in a creamier mouthfeel.
- Churning: Constant mixing incorporates tiny air bubbles (overrun) and prevents large ice chunks.
- Salt: A pinch boosts flavor perception, making the ice cream taste sweeter without added sugar.
Ingredient Swaps & Dietary Notes
This recipe is adaptable to different needs. Try these tested swaps:
- Dairy-free: Use coconut yogurt or cashew cream instead of Greek yogurt.
- Egg-free: Already egg-free — no custard base required.
- Low-carb/keto: Swap bananas for 1 ripe avocado + 2 tbsp erythritol. Texture remains creamy but flavor changes.
- Nut-free: Use oat milk or dairy milk in place of almond milk.
- Extra protein boost: Add 1 scoop unflavored whey or plant protein powder to the base.
Storage & Make-Ahead
Proper storage is key to keeping your ice cream scoopable:
- Container: Use a shallow, airtight container with a tight lid.
- Shelf life: Best quality if eaten within 5–7 days. Safe for longer (up to 1 month) if kept frozen at 0°F/–18°C, though texture may become icy.
- Softening tip: Let it sit at room temperature for 3–5 minutes before serving.
- Make-ahead note: You can prepare the base 24 hours in advance, keep it in the fridge, then churn when ready.
FAQs About Healthy Ice Cream Recipes
1. Can I make this healthy ice cream recipe without an ice cream maker?
Yes. Spread the blended base into a dish, freeze, and stir every 30 minutes until creamy. It takes longer, but the results are still delicious.
2. How do I stop healthy ice cream recipes from turning icy?
Add ingredients with fat (yogurt, nut butter, coconut milk) or natural sugar (bananas, dates). Both reduce ice crystal formation.
3. What are the easiest healthy ice cream maker recipes for beginners?
Banana-based recipes are the best starting point. They’re naturally sweet, creamy, and require minimal added ingredients.
4. Are ice cream healthy recipes lower in calories than store-bought?
A ½-cup serving of this recipe typically ranges from 120 to 140 calories, depending on the type of yogurt and milk used. Many store-bought premium ice creams have more than 250 calories per ½-cup serving, compared to your lighter homemade version.
5. Can I double this healthy ice cream recipe batch?
Yes, but churn in two separate batches. Filling your ice cream maker too full can interfere with the freezing process and may result in an icy texture rather than a creamy one.
Final Scoop
Making a healthy ice cream recipe at home doesn’t mean sacrificing flavor or creaminess. With ripe bananas, creamy yogurt, and the right freezing method, you’ll enjoy a dessert that tastes indulgent yet supports your wellness goals.
Once your base is perfected, you can easily experiment with flavors and mix-ins to create your own healthy ice cream recipes.
To add a luxurious touch or learn which frosting works best for each recipe, check out our full guide on types of frosting and icing.
👉 Follow me on Pinterest for more tried-and-true recipes and stress-free baking tips.
Simple, honest recipes — perfect results every time.
Share your experience and help others!
Tried this recipe? Leave a rating and make someone’s day tastier
Be the first to rate this recipe and help others discover it!