This Rustic Homemade Italian Bread Recipe Will Change the Way You Bake Forever
Table of Contents
Table of Contents
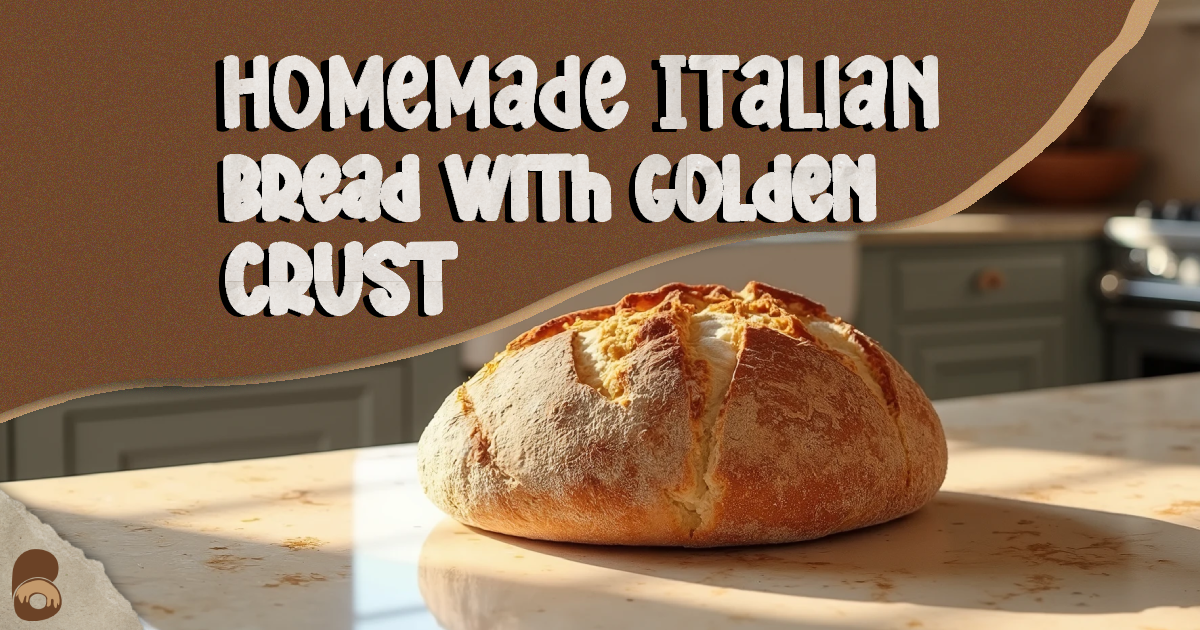
You know that sinking feeling when you pull a loaf from the oven, only to find it pale, dense, or worse—hard as a rock? If you’ve been there, you’re not alone. Many home bakers struggle with getting the perfect balance of chewy interior and golden, crusty exterior. The good news? With this rustic homemade Italian bread recipe, you’ll finally achieve bakery-style results right in your kitchen—no fancy equipment required.
Ingredients You’ll Need (With Conversions)
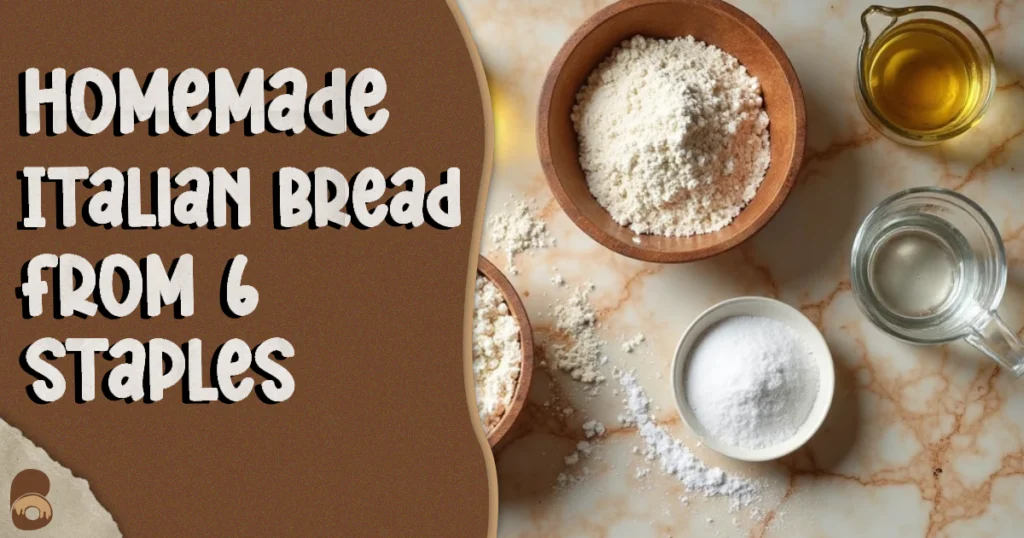
Here’s your full shopping list, measured in both cups/ounces and grams.
| Ingredient | Cups / Ounces | Grams |
|---|---|---|
| Bread flour | 4 ½ cups (18 oz) | 510 g |
| Warm water (110°F / 43°C) | 1 ¾ cups (14 oz) | 415 g |
| Active dry yeast | 2 ¼ tsp (0.25 oz) | 7 g |
| Sugar | 1 tbsp (0.5 oz) | 12 g |
| Olive oil | 2 tbsp (1 oz) | 28 g |
| Salt | 2 tsp (0.4 oz) | 10 g |
⏱ Prep Time: 20 minutes
⏱ Rising Time: 2–2 ½ hours
⏱ Baking Time: 30–35 minutes
⭐ Yield: 1 large loaf
Step-by-Step Method (Skimmable Checklist)
Follow this simple checklist to keep your baking stress-free:
- ✅ Activate yeast: Wake up the yeast by stirring it into warm water with a little sugar. Let sit 5–10 minutes until foamy.
- ✅ Mix dough: Bring the dough together by mixing in flour, salt, and a drizzle of olive oil. Stir until shaggy.
- ✅ Knead: Knead the dough for about 8–10 minutes by hand, or 5–6 minutes if you’re using a stand mixer.
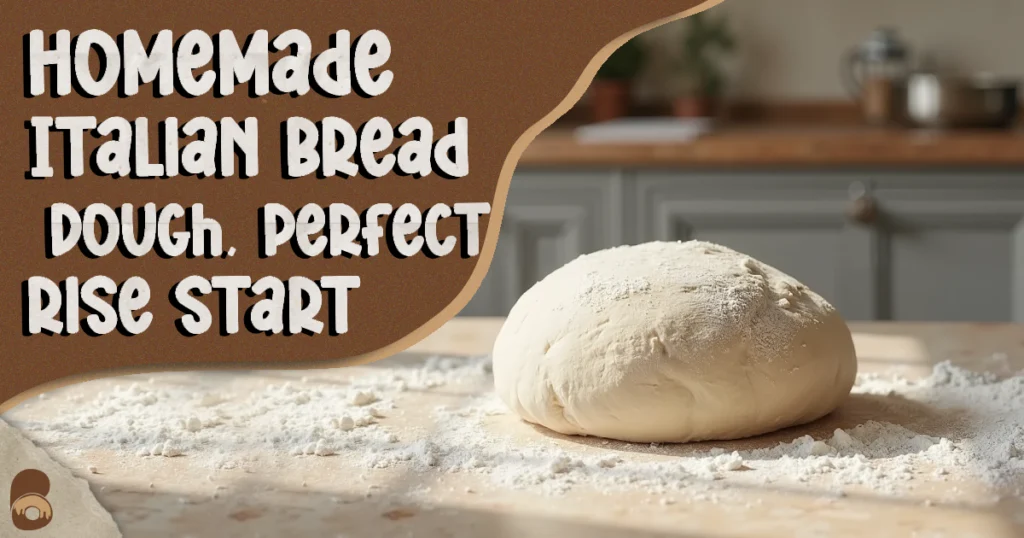
- ✅ First rise: Place dough in an oiled bowl, cover, and let rise until doubled (about 1 ½ hours).
- ✅ Shape: Gently deflate, form into a rustic round or oval.
- ✅ Second rise: Rest on a floured baking sheet, covered, 40–50 minutes.
- ✅ Bake: Preheat oven to 425°F (220°C). Bake 30–35 minutes until golden.
Troubleshooting & Fixes for Homemade Italian Bread
Even a trusted homemade Italian bread recipe may run into small bumps along the way. Here’s how to fix common issues:
- Bread didn’t rise → Check that the yeast is fresh and the water isn’t too hot (ideal: 110°F / 43°C).
- Crust too soft → If the crust feels too soft, take the loaf out of the pan right away and let it cool on a wire rack.
- Too dense inside → Knead longer to build gluten; aim for smooth, elastic dough.
- Burnt bottom → Use a preheated baking stone or place a spare baking sheet under the loaf.
- Pale color → Bake on middle rack; for extra color, brush top with olive oil before baking.
Science Bite: Why This Rustic Bread Recipe Works
Bread-making may feel like magic, but it’s just simple food science:
- As yeast feeds on sugar → It creates carbon dioxide bubbles that help the dough rise.
- Gluten network → Kneading aligns proteins, trapping air bubbles for structure.
- Steam in the oven → Helps the crust expand before it hardens, giving that bakery-style “crackle.”
- The Maillard reaction → Kicks in during baking, turning sugars and proteins into a golden crust with a nutty, toasty aroma.
Ingredient Swaps & Dietary Notes
Want to make this rustic Italian bread fit your lifestyle? Try these swaps:
- 🌱 Vegan: The recipe is naturally dairy- and egg-free.
- 🌾 Whole wheat variation: Replace up to 40% of the bread flour with whole wheat for a heartier rustic Italian bread. Add 2–3 tbsp extra water.
- 🫒 Oil-free: Omit olive oil; bread will be slightly chewier but still flavorful.
- 🧂 Low sodium: Cut salt to 1 tsp—but flavor will be milder.
How to Tell If It’s Done
Visual Cues for Doneness
Don’t just rely on the timer—trust your senses:
- 👀 Look: Crust should be deep golden brown, not pale.
- 👃 Smell: Rich, nutty, slightly sweet aroma.
- ✋ Feel: Loaf should sound hollow when tapped on the bottom.
- 🌡 Check temp: Internal bread temperature should reach 200–210°F (93–99°C).
Storage & Make-Ahead Tips
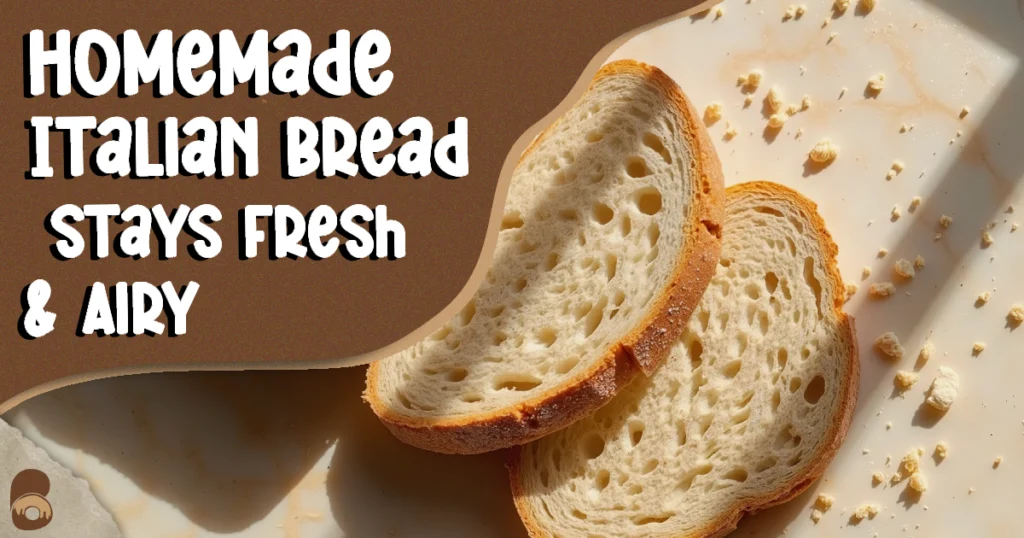
- Room temp: Store your loaf in a towel or paper bag; avoid plastic, which traps moisture and softens the crust.
- Freezing: Slice first, then wrap in foil + freezer bag; lasts up to 3 months.
- Reheating: Sprinkle slices with water, warm in oven at 350°F (175°C) for 5–7 minutes.
FAQs About Homemade Italian Bread
1. Why is my homemade Italian bread not crusty?
Likely because the oven lacked steam. For extra-crusty bread, set a pan of hot water on the oven floor during the first 10 minutes of baking.
2. Can I use all-purpose flour for homemade Italian bread?
You can substitute, but bread flour creates a chewier texture and stronger structure because of its higher protein content.
3. How do I store homemade Italian bread overnight?
Store your loaf in a towel or paper bag; avoid plastic, which traps moisture and softens the crust.
4. What’s the best pan for homemade Italian bread?
A baking stone or cast-iron Dutch oven creates the most even heat and crusty results.
5. Can I add herbs or garlic to homemade Italian bread?
Absolutely! Add 1–2 tsp dried herbs or 2 cloves roasted garlic during mixing.
Final Bite
Baking your first loaf of rustic Italian bread doesn’t have to end in frustration. With a little science, some visual cues, and these troubleshooting tricks, you’ll bake bread that’s chewy, golden, and full of flavor—just like it came from a cozy Italian bakery.
👉 Follow me on Pinterest for more reliable bakes and no-fail recipes!
Share your experience and help others!
Tried this recipe? Leave a rating and make someone’s day tastier
Be the first to rate this recipe and help others discover it!

