Perfect Guide: How to Make Mochi Ice Cream Recipe at Home
Table of Contents
Table of Contents
Ever tried making mochi ice cream and ended up with sticky hands, torn dough, and melting ice cream? You’re not alone. The good news is, with a few smart tricks and an understanding of how this chewy Japanese treat works, you can get it perfect — every time.
Prep & Equipment Essentials
Equipment: Rolling pin, silicone baking mat, kitchen scale, small ice cream scooper, microwave-safe bowl, plastic wrap.
- Prep time: 20 min active
- Freeze time: 1–2 hours
- Cook time: ~10 min
- Total time: ~2.5 hours
- Yield: 12 pieces
- Difficulty: Moderate
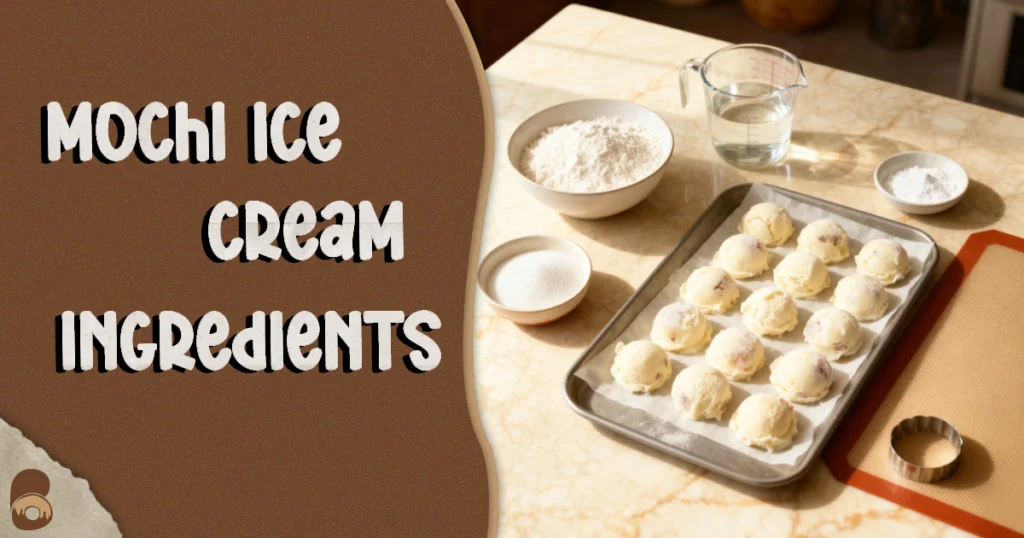
Ingredient Table
| Ingredient | Cups/Ounces | Grams |
|---|---|---|
| Glutinous rice flour | 1 cup / 4 oz | 120 g |
| Sugar | 1/4 cup / 2 oz | 50 g |
| Water | 3/4 cup / 6 oz | 180 ml |
| Cornstarch (for dusting) | — | — |
| Ice cream (flavored) | ~2 cups / 16 oz | 454 g |
Step-by-Step Method
Checklist:
- Scoop & Freeze — Scoop ice cream into 12 balls. Freeze until very firm, at least 1–2 hours.
Visual cue: solid and easy to handle without sticking. - Mix Dough — Whisk flour, sugar, and water until a smooth paste forms.
- Microwave Cook — Microwave in 1-minute intervals, stirring each time, for 2–4 minutes until dough is opaque, thick, and slightly glossy.
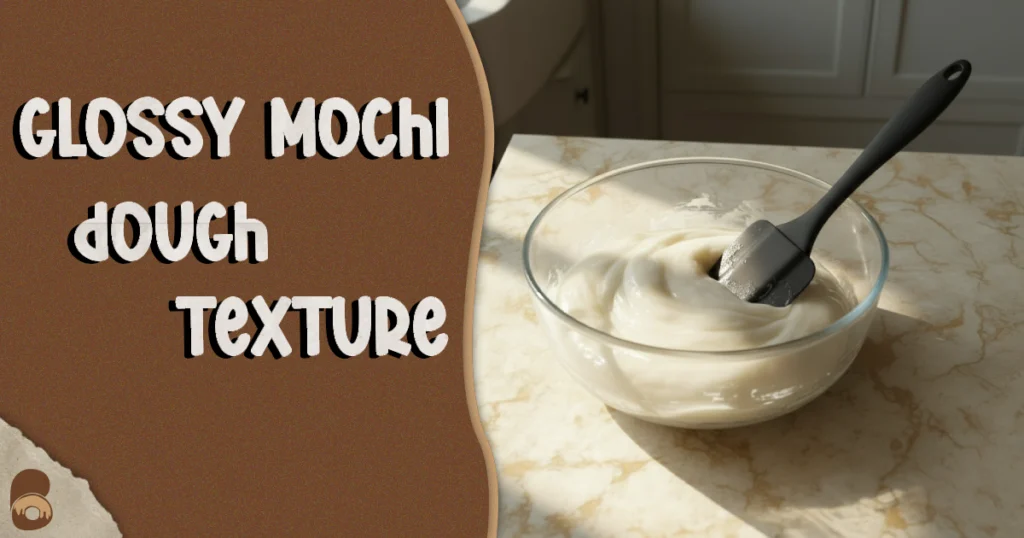
Visual cue: opaque and glossy.
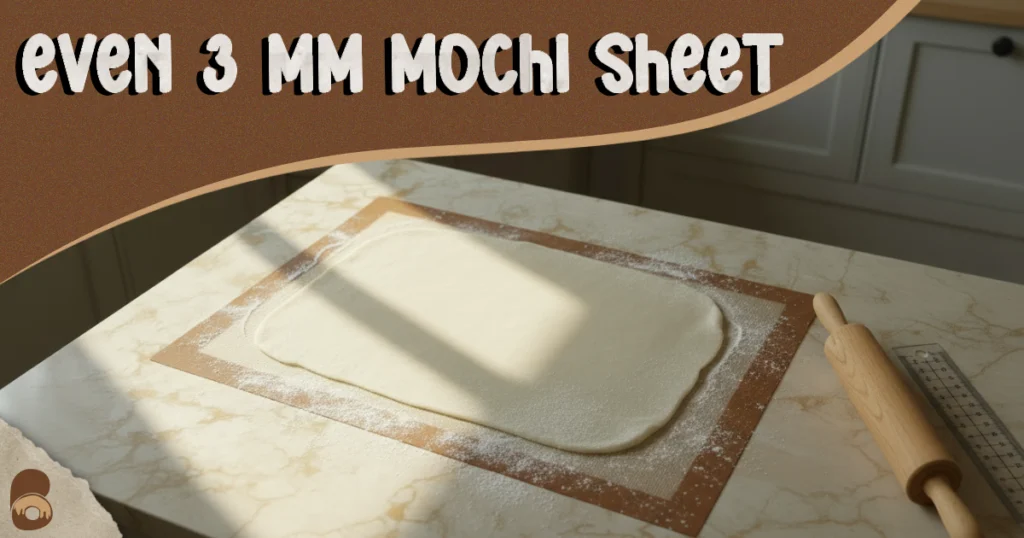
- Dust Surface — Generously cover the mat with cornstarch to prevent sticking.
- Roll Thin — Roll mochi to 1/8-inch (3 mm) thickness while still warm.
Visual cue: even thickness, no cracks.
- Cut Circles — Use a cutter slightly larger than ice cream balls.
- Wrap Quickly — Place ice cream in the center, pinch the seam closed. Work fast to prevent melting.
- Final Freeze — Wrap each in plastic, freeze at least 2 hours before serving.
Troubleshooting & Fixes for How to Make Mochi Ice Cream Recipe
- Too sticky: Extra cornstarch during shaping.
- Tears while wrapping: Roll dough slightly thicker or chill before handling.
- Ice cream melting: Work in batches, keeping the rest in the freezer.
- Bland flavor: Use richer ice cream or increase sugar by 1–2 tsp.
Science Bite: Why This Method Works
- Glutinous rice flour is high in amylopectin and contains almost no amylose. This starch structure gives it its signature stretchy, chewy texture.
- Microwave heating distributes heat evenly without browning.
- Cornstarch coating creates a dry barrier, reducing stickiness during rolling.
- Quick wrapping keeps the cold core intact, helping mochi adhere properly.
Ingredient Swaps & Dietary Notes
- Dairy-free: Use coconut, almond, or oat-based frozen desserts.
- Gluten-free: Naturally GF — just ensure glutinous rice flour is pure.
- Sugar-free: Use powdered monk fruit or erythritol. Note: Erythritol may cause a firmer or slightly gritty dough — powdered forms dissolve better.
- Already egg-free — suitable for many with egg allergies, but always check ice cream labels for allergens.
Visual Cues for Doneness (Mochi Layer)
- See: Even, opaque surface
- Feel: Stretchy but firm, doesn’t tear easily
- Smell: Neutral with a faint sweetness from added sugar
Storage & Make-Ahead
- Wrap each mochi in plastic wrap before freezing.
- Store individually wrapped in the freezer for best quality up to 2–3 weeks. Safe for up to 1 month, but the texture may suffer.
- To serve, thaw at room temp 2–3 min for best chew.
- Safety note: Don’t microwave filled mochi — you’ll melt the ice cream and risk burns from hot dough.
FAQs
How to make mochi ice cream recipe without a microwave?
Steam dough for ~15 min, stirring halfway to ensure even cooking.
How to make mochi ice cream recipe less sticky?
Let the dough cool slightly before rolling and dust generously.
How to make mochi ice cream recipe with chocolate flavor?
Add 1 tbsp cocoa powder to dough mix and pair with chocolate ice cream.
How to make mochi ice cream recipe for parties?
Create mini portions (half-size) and use colorful wrappers.
How to make mochi ice cream recipe softer after freezing?
Let thaw for 2 min before eating.
Pro Tip: Want to explore frostings to complement your desserts? Check our guide on Types of Frosting: 7 Basic Icing Styles and What the Pros Actually Use for detailed advice.
Follow me on Pinterest for more reliable bakes.
Simple, honest recipes — perfect results every time.
Share your experience and help others!
Tried this recipe? Leave a rating and make someone’s day tastier
Be the first to rate this recipe and help others discover it!