How to Make Starbucks Cake Pops at Home: A Fun & Easy Guide for Beginners
Table of Contents
Table of Contents
You’ve probably been there before: you walk into Starbucks, spot those pretty little cake pops by the register, and think, “I could make those at home.” Fast forward to your kitchen—you try a recipe, only to end up with dry cake balls that won’t hold their shape or a chocolate coating that cracks. Frustrating, right? Don’t worry—you’re about to learn the real method for how to make Starbucks cake pops at home without the mess or disappointment.
This beginner-friendly guide walks you through step by step, with simple swaps, troubleshooting, and clear visual cues so you get perfect cake pops every time.
🧾 Ingredients & Equipment You’ll Need
Here’s the exact base recipe for birthday-style cake pops (like Starbucks’ classic pink ones).
Ingredients (makes about 18 cake pops)
| Ingredient | US Cups/oz | Grams |
|---|---|---|
| Vanilla cake (already baked & cooled) | 3 cups (about 12 oz) | 340 g |
| Cream cheese frosting (or buttercream) | ½ cup (4 oz) | 115 g |
| White candy melts (for coating) | 2 cups (12 oz) | 340 g |
| Sprinkles (optional) | – | – |
| Cake pop sticks | – | – |
Optional Variations
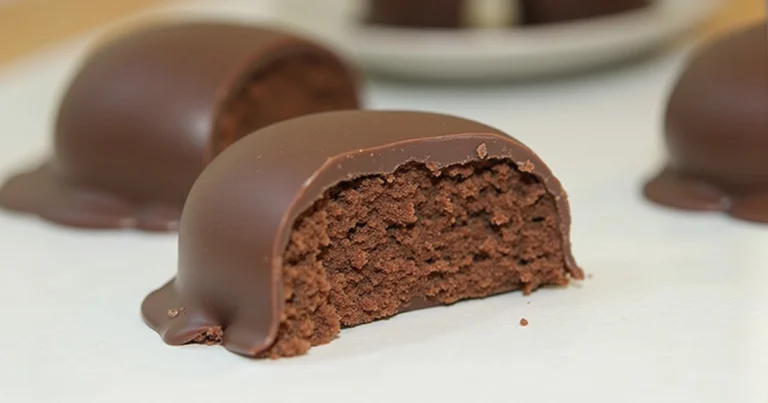
- Starbucks chocolate cake pop recipe → Swap vanilla cake for chocolate cake + chocolate candy melts.
- Cookies n cream cake pops → Use crushed Oreos folded into the frosting + coat in white chocolate.
Equipment Checklist
- Large mixing bowl
- Fork or food processor
- Microwave-safe bowl (for melting coating)
- Baking sheet + parchment paper
- Cake pop sticks
👩🍳 Step-by-Step Method
Here’s the streamlined process—no messy guesswork.
✅ Checklist: How to Make Starbucks Cake Pops at Home
- Bake & Cool the Cake
- Use boxed mix or homemade.
- Cool completely (at least 1 hour).
- Crumble the Cake
- Break into fine crumbs with your hands or fork.
- No large chunks—this helps binding.
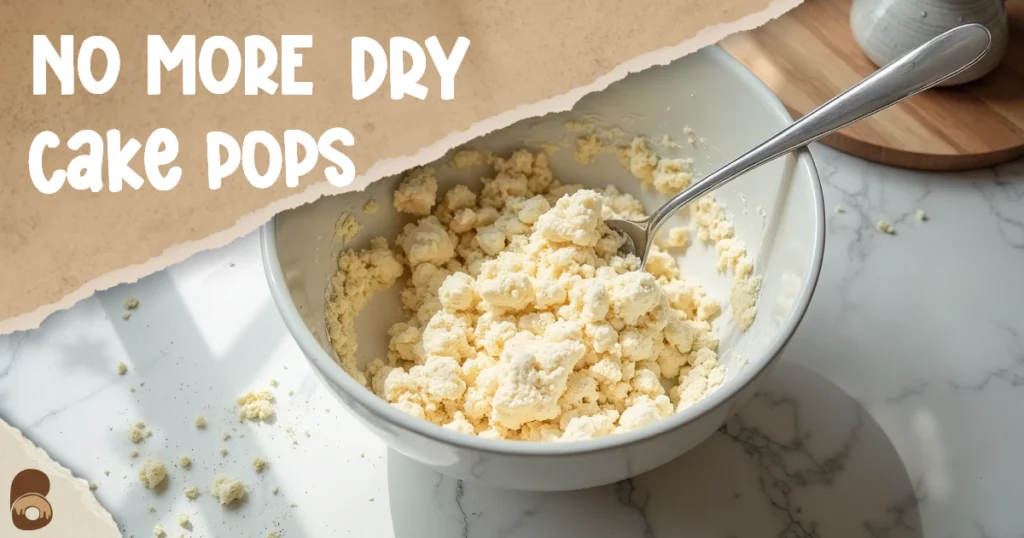
- Mix with Frosting
- Add frosting gradually (start with ¼ cup, increase if needed).
- Aim for a soft, dough-like consistency.
- Shape the Cake Balls
- Scoop ~1 tbsp mixture, roll into 1.5-inch balls.
- Place on parchment-lined tray.
- Chill
- Freeze 15–20 minutes (not fully frozen).
- Insert Sticks
- Coat the tip of each lollipop stick in melted candy before gently pushing it halfway into the cake ball.
- Coat in Chocolate
- Carefully submerge each cake ball into melted candy coating kept at 90–95°F (32–35°C).
- Let excess drip off, gently tap the stick against the bowl.
- Decorate & Set
- Add sprinkles while wet.
- Stand upright in styrofoam or a box to dry.
⏱️ Total time: about 1 hour (including chilling).
⚠️ Troubleshooting & Fixes: How to Make Starbucks Cake Pops
Even simple recipes can go wrong. Here’s how to fix common problems:
- Cake pops falling off the stick → Your mixture is too soft. Add more cake crumbs, or chill longer before dipping.
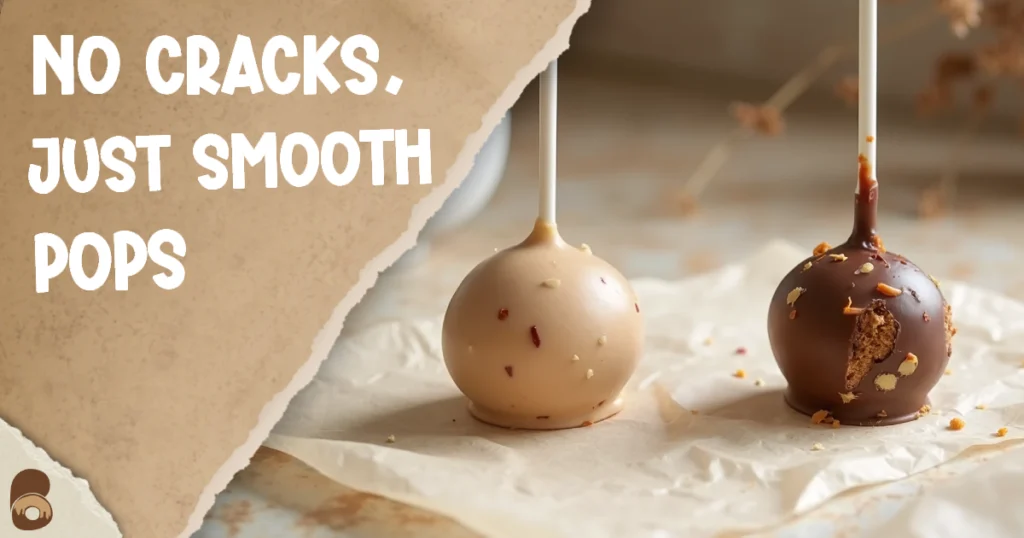
- Chocolate coating cracking → The cake balls were too cold compared to the hot melted candy. Allow the shaped cake balls to rest at room temperature for about 5 minutes before you start dipping.
- Coating too thick → Add 1 tsp coconut oil or shortening to thin candy melts.
- Dry cake pops → You added too little frosting. Work in more gradually until the mixture feels moist and pliable.
🔬 Science Bite: Why This Method Works
Cake pops succeed because of emulsion balance:
- Mixing in frosting adds just enough fat and moisture to hold the crumbs together, giving them a smooth, truffle-style bite.
- Chilling the balls before dipping solidifies fat molecules, giving structure so they don’t crumble.
- Candy melts set via crystalline fat structure, which locks in moisture and gives that shiny Starbucks-style finish.
This isn’t just about looks—it’s why cake pops stay tender inside while holding shape outside.
🍰 Ingredient Swaps & Dietary Notes
Want to make these more flexible? Try these alternatives:
- Egg-free / Vegan → Use an egg-free boxed cake mix or vegan recipe + dairy-free buttercream.
- Dairy-free → Swap cream cheese frosting for coconut cream-based frosting. Use vegan chocolate coating.
- Lower sugar → Reduce frosting amount slightly and choose sugar-free chocolate coating.
Note: Texture may be slightly denser with sugar-free or vegan swaps, but chilling helps keep shape consistent.
👀 Visual Cues for Doneness
You’ll know your cake pops are on track when:
- SEE → Cake balls are smooth, coating is even with no cracks.
- SMELL → Sweet, chocolatey aroma once coating sets.
- FEEL → Exterior firm but not rock hard; inside stays soft and moist.
Pro tip: Internal cake ball temp should be about 70°F (21°C) before dipping for best coating results.
📦 Storing Your Cake Pops
- Room temperature: Up to 3 days (covered).
- Fridge: 1 week in an airtight container.
- Freezer: Up to 6 weeks. Wrap individually in plastic wrap, then place in a freezer bag.
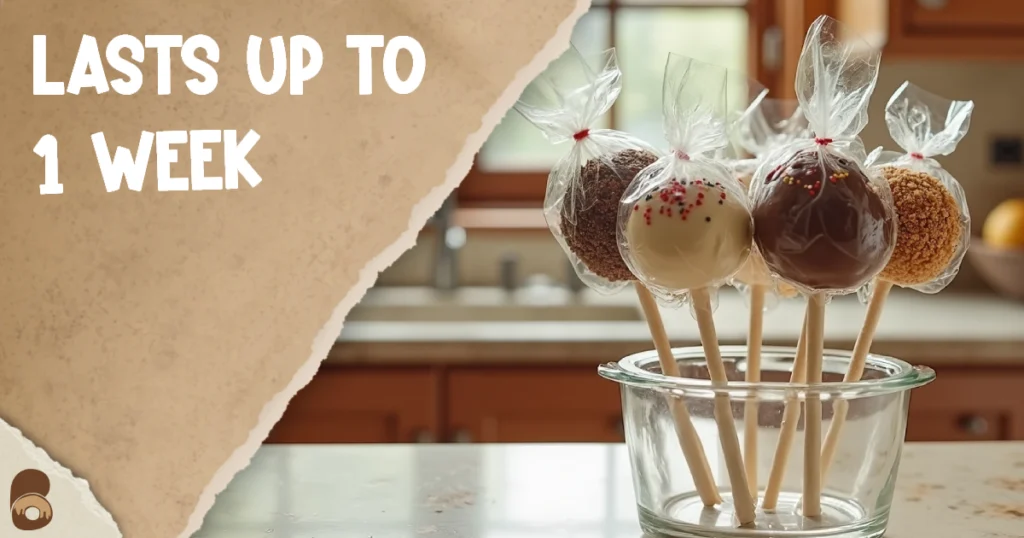
Defrost in the fridge overnight to prevent condensation on the coating.
FAQs About How to Make Starbucks Cake Pops
Q1: Can I make the Starbucks cake pops recipe without candy melts?
Yes! Use tempered white or dark chocolate instead. Just remember it sets harder and faster, so work quickly.
Q2: What makes my birthday cake pops taste overly sweet?
Starbucks cake pops are sweet by design. To balance, use less frosting and coat in semi-sweet chocolate instead of white.
Q3: Can I follow this Starbucks chocolate cake pop recipe with a boxed cake mix?
Yes, you can use a regular 15.25 oz (432 g) box of chocolate cake mix, and it works beautifully for a Starbucks chocolate cake pop recipe. Just reduce frosting slightly, since boxed cakes are moister.
Q4: How do I make cookie’ n’ cream cake pops hold their shape?
Add crushed Oreos after mixing the frosting into the cake crumbs—this keeps the texture even and prevents the cake from falling apart.
Q5: How long do homemade Starbucks cake pops last compared to store-bought?
When stored properly in an airtight container, homemade cake pops keep well in the fridge for up to one week. Starbucks’ versions use stabilizers, so they last longer at room temp.
🎉 Final Bite
Making Starbucks cake pops at home is simpler than it looks—and now you know the real secrets: the right cake-to-frosting ratio, proper chilling, and a smooth coating technique. Once you master the basics, you can recreate any flavor—birthday cake, chocolate, or cookies n cream—right in your kitchen.
Follow me on Pinterest for more reliable bakes.
Simple, honest recipes — perfect results every time.
Share your experience and help others!
Tried this recipe? Leave a rating and make someone’s day tastier
Be the first to rate this recipe and help others discover it!


