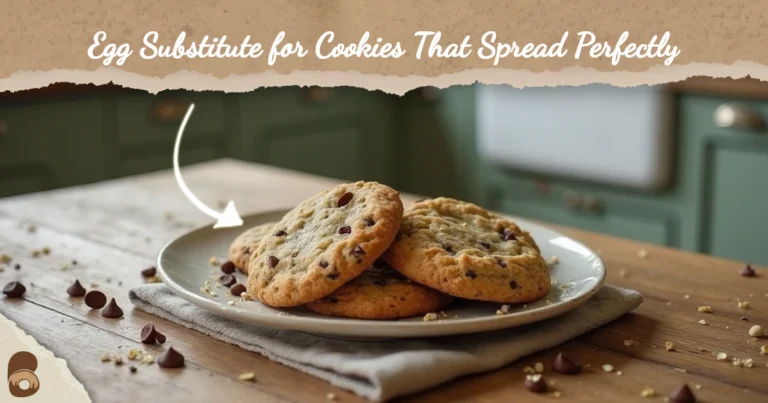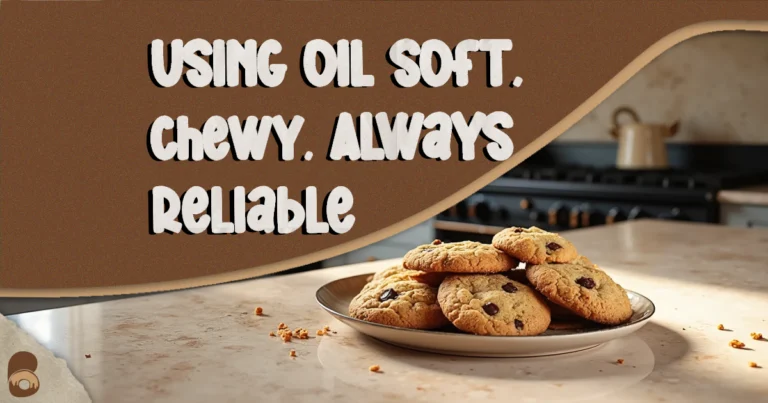
Easy Peanut Butter Cookie Recipe No Eggs Needed: Perfectly Chewy Every Time
Table of Contents
Have you ever experienced that moment of disappointment when cookie cravings strike, only to discover your egg carton sitting empty? I certainly have. While rummaging through my pantry one Sunday afternoon, desperately seeking alternatives, I stumbled upon a revelation that transformed my baking routine forever: peanut butter cookies shine without eggs.
The warm, nutty aroma wafting through your kitchen, the soft center with slightly crisp edges, and that distinctive fork-pressed pattern – all achievable without cracking a single egg. Whether you’re accommodating allergies, embracing plant-based living, or simply caught short on ingredients, this peanut butter cookie recipe without eggs delivers mouthwatering results that might just outshine the traditional version.
Why Make Peanut Butter Cookies Without Eggs?
Eggless baking isn’t merely a solution for unexpected pantry shortages. Many folks deliberately seek egg-free recipes for various compelling reasons:
- Food allergies or sensitivities that make egg consumption problematic
- Dietary preferences, including vegan or vegetarian lifestyles
- Religious or cultural dietary restrictions
- Concerns about cholesterol levels in conventional baking
- Desire to create treats that everyone at the table can enjoy
The beauty of peanut butter cookies specifically lies in their natural compatibility with egg-free preparation. The considerable fat content and binding properties inherent in peanut butter itself create a perfect foundation for restructuring this classic treat without compromising texture or flavor.
The Science Behind Egg-Free Baking
Traditional cookie recipes utilize eggs primarily for three functions: binding ingredients together, adding moisture, and providing structure. When crafting peanut butter cookies without eggs, we cleverly substitute these functions using alternative ingredients.
Milk (whether dairy-based or plant-derived) supplies necessary moisture, while the natural oils in peanut butter contribute both binding properties and richness. The combination of sugars and proper flour ratios ensures structural integrity, allowing your cookies to maintain that perfect balance between chewy centers and crisp edges that cookie enthusiasts crave.
Essential Components for Your No-Egg Peanut Butter Cookie Creation
Gather these simple pantry staples before embarking on your egg-free baking adventure:
| Ingredient | Amount | Notes |
|---|---|---|
| Creamy peanut butter | 1 cup | Room temperature works best |
| Brown sugar | ½ cup | Provides moisture and chewiness |
| Granulated sugar | ½ cup | For structure and sweetness |
| Milk (dairy or plant-based) | 3 tablespoons | Egg replacement |
| Pure vanilla extract | 1 teaspoon | Creates the necessary framework |
| Unbleached all-purpose flour | 1 cup | Creates necessary framework |
| Baking soda | ¾ teaspoon | For rise and texture |
| Fine sea salt | ¼ teaspoon | Counteracts sweetness |
| Optional mix-ins | ½ cup | Chocolate chips, crushed peanuts, etc. |
Equipment Needed
Nothing fancy required here! Round up these basic kitchen tools:
- Two mixing bowls (one for wet ingredients, one for dry)
- Calibrated measuring tools to ensure accurate ingredient quantities
- Baking sheet (standard size works perfectly)
- Parchment paper to prevent sticking
- A fork for creating that classic crosshatch pattern
- Cooling rack for optimal texture development
Step-by-Step Instructions for Perfect Peanut Butter Cookies (No Eggs!)
Step 1: Preparation
Begin by preheating your oven to 350°F (175°C). Cover your cookie trays with a sheet of parchment to both eliminate sticking issues and simplify post-baking tidying. Allow your refrigerated ingredients to reach room temperature, particularly the peanut butter, which spreads more evenly when slightly warm.
Step 2: Mix Wet Ingredients
Within your most spacious mixing vessel, blend the nutty spread and dual sweetener varieties. The crucial technique here involves thorough creaming – blend these ingredients until achieving a noticeably lighter color and somewhat fluffy texture, typically requiring 2-3 minutes of vigorous mixing.
Next, gradually incorporate the milk and vanilla extract. The mixture might temporarily appear slightly separated – fear not, this resolves once the dry ingredients join the party. Your target consistency resembles thick cake batter, rich and glossy.
Step 3: Combine Dry Ingredients
In your second bowl, whisk together the flour, baking soda, and salt, ensuring even distribution of the leavening agents. Gradually add this mixture to your wet ingredients, folding gently rather than overmixing. Conclude mixing once all powdery flour particles have been fully incorporated.
Your finished dough should feel substantial yet pliable, neither overly sticky nor crumbly. If your dough appears excessively dry (which sometimes occurs with natural peanut butter varieties), add an additional tablespoon of milk. Conversely, if the dough feels too wet, incorporate an extra tablespoon of flour.
Step 4: Shape and Bake
Using clean hands or a cookie scoop, form dough portions roughly the size of ping pong balls (approximately 1½ tablespoons each). Arrange these dough balls on your prepared baking sheet, allowing 2 inches between each for proper spreading.
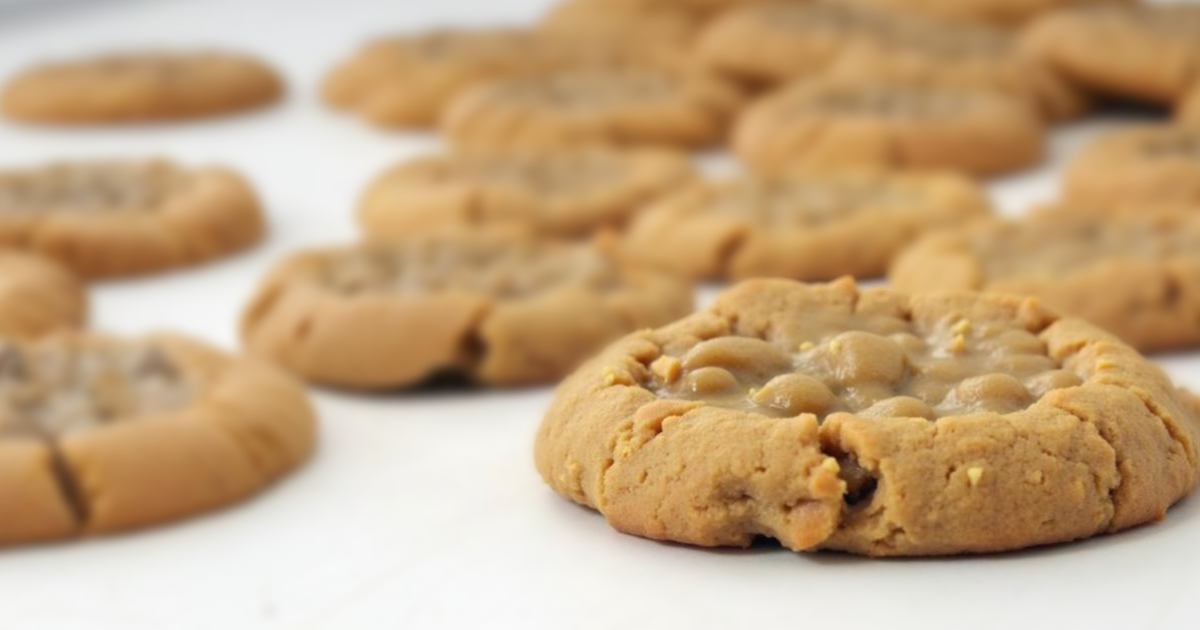
Next comes the characteristic finishing move: gently press fork prongs across each rounded dough portion once, then create a second impression at right angles to form that instantly recognizable grid design associated with classic peanut butter cookies. This step isn’t merely decorative – it helps cookies bake evenly by flattening the dough to a consistent thickness.
Allow to bake between 10-12 minutes, watching for firmly set, golden-tinged perimeters while the middle portion stays somewhat tender. Remember that cookies continue firming up after removal from the oven, so slight underbaking ensures perfect chewiness once cooled.
Pro Tips for the Best Egg-Free Peanut Butter Cookies
Elevate your baking results with these insider techniques:
- Choose your peanut butter wisely: While both natural and commercial varieties work, each requires slight adjustments. When using minimally processed nut spreads, plan for additional stirring time to blend any separated natural oils, plus possibly an extra spoonful of flour to maintain proper consistency.
- Master your preservation approach: Store your finished treats in sealed containers away from air exposure at normal room warmth for approximately five days. For extended freshness, refrigerate for up to two weeks or freeze for three months.
- Embrace creative variations: Transform your base recipe by incorporating mini chocolate chips, crushed peanuts, a cinnamon-sugar coating, or a chocolate drizzle finish.
Troubleshooting Common Issues with No-Egg Peanut Butter Cookies
Even experienced bakers encounter occasional challenges. Here’s how to address common issues:
Problem: Cookies spread excessively during baking. Solution: Chill your dough for 30 minutes before baking, or add 2-3 tablespoons of flour to your next batch.
Problem: Dough appears crumbly and won’t hold together. Solution: Incorporate additional milk, one tablespoon at a time, until the dough coheres when pressed.
Problem: Cookies taste slightly bland. Solution: Increase salt to ½ teaspoon and consider topping with flaky sea salt before baking.
Nutritional Information and Dietary Notes
Each cookie contains approximately 120-130 calories, primarily from healthy fats and carbohydrates. For vegan adaptation, simply substitute plant-based milk (oat milk works beautifully) and verify your sugar processing methods (some brands use bone char).
Bakers needing wheat alternatives might replace standard flour with equivalent measures of gluten-free baking mixtures that include binding agents like xanthan gum for similarly satisfying outcomes.
FAQ: About Peanut Butter Cookie Recipe No Eggs
Is it possible to prepare this egg-free peanut butter cookie formula using chunky-style nut spread instead?
Absolutely! Selecting nut butter with fragments creates a pleasant textural contrast distributed throughout your baked treats. The recipe requires no modifications, though some bakers prefer adding an extra tablespoon of milk to counterbalance the reduced oil content found in chunky varieties.
How long will these egg-free peanut butter cookies stay fresh?
Properly sealed in containers that block air exposure, these delights retain their peak quality characteristics for approximately 5-7 days when kept at standard household temperatures. For extended enjoyment, freeze fully cooled cookies in freezer-safe bags for up to three months, thawing individual portions as cravings arise.
Would alternative sweeteners work in this egg-free peanut butter cookie preparation?
While traditional sugars create ideal texture, health-conscious bakers report reasonable success using coconut sugar as a 1:1 replacement. Liquid sweeteners like honey or maple syrup require reducing the milk quantity to maintain proper consistency.
Why did my egg-free peanut butter cookies turn out too crumbly?
Baked goods that fall apart easily usually result from too much dry flour incorporation or insufficient liquid components. Measure flour by spooning it into measuring cups rather than scooping directly, and ensure your peanut butter contains sufficient oil. Natural varieties sometimes require additional binding moisture.
Do these egg-free peanut butter cookies accommodate individuals with various food sensitivities?
While naturally egg-free, remember that this recipe contains peanuts and potentially dairy (if using conventional milk). To address several dietary restrictions simultaneously, try replacing the peanut spread with sunflower seed alternative and cow’s milk with vegetable-derived liquid options.
Sweet Success Awaits You
These eggless peanut butter cookies prove that dietary restrictions need never limit culinary enjoyment. The simple ingredients transform into extraordinary treats through straightforward techniques anyone can master. Whether accommodating allergies, embracing plant-forward cooking, or simply working with what’s available in your pantry, this recipe delivers consistent, delicious results.
Next time unexpected guests arrive or dessert cravings strike without warning, remember this reliable solution waiting in your recipe collection. Why not preheat that oven and treat yourself today? Your kitchen will fill with irresistible aromas, and your taste buds will thank you for these tender, perfectly sweet morsels.
Share your baking triumphs or creative variations in the comments below – our community loves discovering new twists on classic favorites! Have you discovered other successful egg replacements in traditional baking? Your insights might inspire fellow bakers facing similar kitchen challenges.